ANZAC Weapons: Difference between revisions
Jump to navigation
Jump to search
Skizmophonic (talk | contribs) No edit summary |
Skizmophonic (talk | contribs) No edit summary |
||
| (15 intermediate revisions by the same user not shown) | |||
| Line 1: | Line 1: | ||
These are some but not all of the weapons used only by ANZAC forces in Vietnam. The ANZAC also used many US weapons like the [[M16]] and the [[M1911A1]] | |||
<hr> | |||
| Line 77: | Line 16: | ||
|- | |- | ||
|- | |- | ||
|[[File:ANZAC Flag.jpg|50px]]<br><strong>[[ANZAC]]</strong>|| [[File: | |[[File:ANZAC Flag.jpg|50px]]<br><strong>[[ANZAC]]</strong>|| [[File:L1A1.png|250px]]<br><b>[[L1A1]]</b> || [[File:Weapon_l1a1.svg|250px]] || [[File:Class_Assault.png|50px]] <b>[[Assault]]</b><br> || 20[[+1]] / 60 || 44 || 107 | ||
|- | |- | ||
|- | |- | ||
|[[File:ANZAC Flag.jpg|50px]]<br><strong>[[ANZAC]]</strong>|| [[File: | |[[File:ANZAC Flag.jpg|50px]]<br><strong>[[ANZAC]]</strong>|| [[File:L1A1 SOG.png|250px]]<br><b>[[L1A1 SASR]]</b> || [[File:Weapon_l1a1_sog.svg|250px]] || [[File:Class_Assault.png|50px]] <b>[[Assault]]</b><br> || 30[[+1]] / 90 || 44 || 107 | ||
|- | |- | ||
|- | |- | ||
|[[File:ANZAC Flag.jpg|50px]]<br><strong>[[ANZAC]]</strong>|| [[File: | |[[File:ANZAC Flag.jpg|50px]]<br><strong>[[ANZAC]]</strong>|| [[File:L2A1.png|250px]]<br><b>[[L2A1]]</b> || [[File:Weapon_l2a1.svg|250px]] || [[File:Class_Gunner.png|50px]] <b>[[Gunner]]</b><br> || 30[[+1]] / 90 || 44 || 107 | ||
|- | |- | ||
|- | |- | ||
|[[File:ANZAC Flag.jpg|50px]]<br><strong>[[ANZAC]]</strong>|| [[File: | |[[File:ANZAC Flag.jpg|50px]]<br><strong>[[ANZAC]]</strong>|| [[File:F1.png|250px]]<br><b>[[F1]]</b> || [[File:Weapon_f1.svg|250px]] || [[File:Class_medic.png|50px]] <b>[[Medic]]</b><br> [[File:Class_Engineer.png|50px]] <b>[[Engineer]]</b><br> [[File:Class_radioman.png|50px]] <b>[[Radioman]]</b><br> || 34 / 102 || 35 || 84 | ||
|- | |- | ||
|- | |- | ||
|[[File:ANZAC Flag.jpg|50px]]<br><strong>[[ANZAC]]</strong>|| [[File: | |[[File:ANZAC Flag.jpg|50px]]<br><strong>[[ANZAC]]</strong>|| [[File:Owen.png|250px]]<br><b>[[Owen Gun]]</b> || [[File:Weapon_owen_gun.svg|250px]] || [[File:Class_medic.png|50px]] <b>[[Medic]]</b><br> [[File:Class_Engineer.png|50px]] <b>[[Engineer]]</b><br> [[File:Class_radioman.png|50px]] <b>[[Radioman]]</b><br> || 32 / 96 || 35 || 84 | ||
|- | |- | ||
|- | |- | ||
|[[File:ANZAC Flag.jpg|50px]]<br><strong>[[ANZAC]]</strong>|| [[File: | |[[File:ANZAC Flag.jpg|50px]]<br><strong>[[ANZAC]]</strong>|| [[File:Sterling.png|250px]]<br><b>[[Sterling L2A3]]</b> || [[File:Weapon_sterling.svg|250px]] || [[File:Class_medic.png|50px]] <b>[[Medic]]</b><br> [[File:Class_Engineer.png|50px]] <b>[[Engineer]]</b><br> [[File:Class_radioman.png|50px]] <b>[[Radioman]]</b><br> || 34 / 102 || 36 || 86 | ||
|- | |- | ||
|- | |- | ||
|[[File:ANZAC Flag.jpg|50px]]<br><strong>[[ANZAC]]</strong>|| [[File: | |[[File:ANZAC Flag.jpg|50px]]<br><strong>[[ANZAC]]</strong>|| [[File:Sterling SOG.png|250px]]<br><b>[[L34A1 SASR]]</b> || [[File:Weapon_sterling_sog.svg|250px]] || [[File:Class_medic.png|50px]] <b>[[Medic]]</b><br> [[File:Class_Engineer.png|50px]] <b>[[Engineer]]</b><br> [[File:Class_radioman.png|50px]] <b>[[Radioman]]</b><br> || 34 / 102 || 34 || 81 | ||
|- | |- | ||
|- | |- | ||
|[[File:ANZAC Flag.jpg|50px]]<br><strong>[[ANZAC]]</strong>|| [[File: | |[[File:ANZAC Flag.jpg|50px]]<br><strong>[[ANZAC]]</strong>|| [[File:HP.png|250px]]<br><b>[[Browning Hi-Power]]</b> || [[File:Weapon_hp.svg|200px]] || <b>Everyone Except Sniper<br> || 13[[+1]] / 13 || 28 || 72 | ||
|- | |- | ||
|- | |- | ||
|[[File:ANZAC Flag.jpg|50px]]<br><strong>[[ANZAC]]</strong>|| [[File: | |[[File:ANZAC Flag.jpg|50px]]<br><strong>[[ANZAC]]</strong>|| [[File:Dual HP.png|250px]]<br><b>[[Dual Browning Hi-Power]]</b> || [[File:Weapon_hp.svg|200px]][[File:Weapon_hp.svg|200px]] || [[Gun Game]] <b><br> || 26 / 52 || 28 || 72 | ||
|- | |- | ||
|} | |} | ||
Latest revision as of 01:58, 12 October 2024
These are some but not all of the weapons used only by ANZAC forces in Vietnam. The ANZAC also used many US weapons like the M16 and the M1911A1
| Factions | Weapon | Icon | Classes | Ammo | Damage | |
|---|---|---|---|---|---|---|
| Normal | Headshot | |||||
 ANZAC |
 L1A1 |
 |
 Assault Assault |
20+1 / 60 | 44 | 107 |
 ANZAC |
 L1A1 SASR |
 |
 Assault Assault |
30+1 / 90 | 44 | 107 |
 ANZAC |
 L2A1 |
 |
 Gunner Gunner |
30+1 / 90 | 44 | 107 |
 ANZAC |
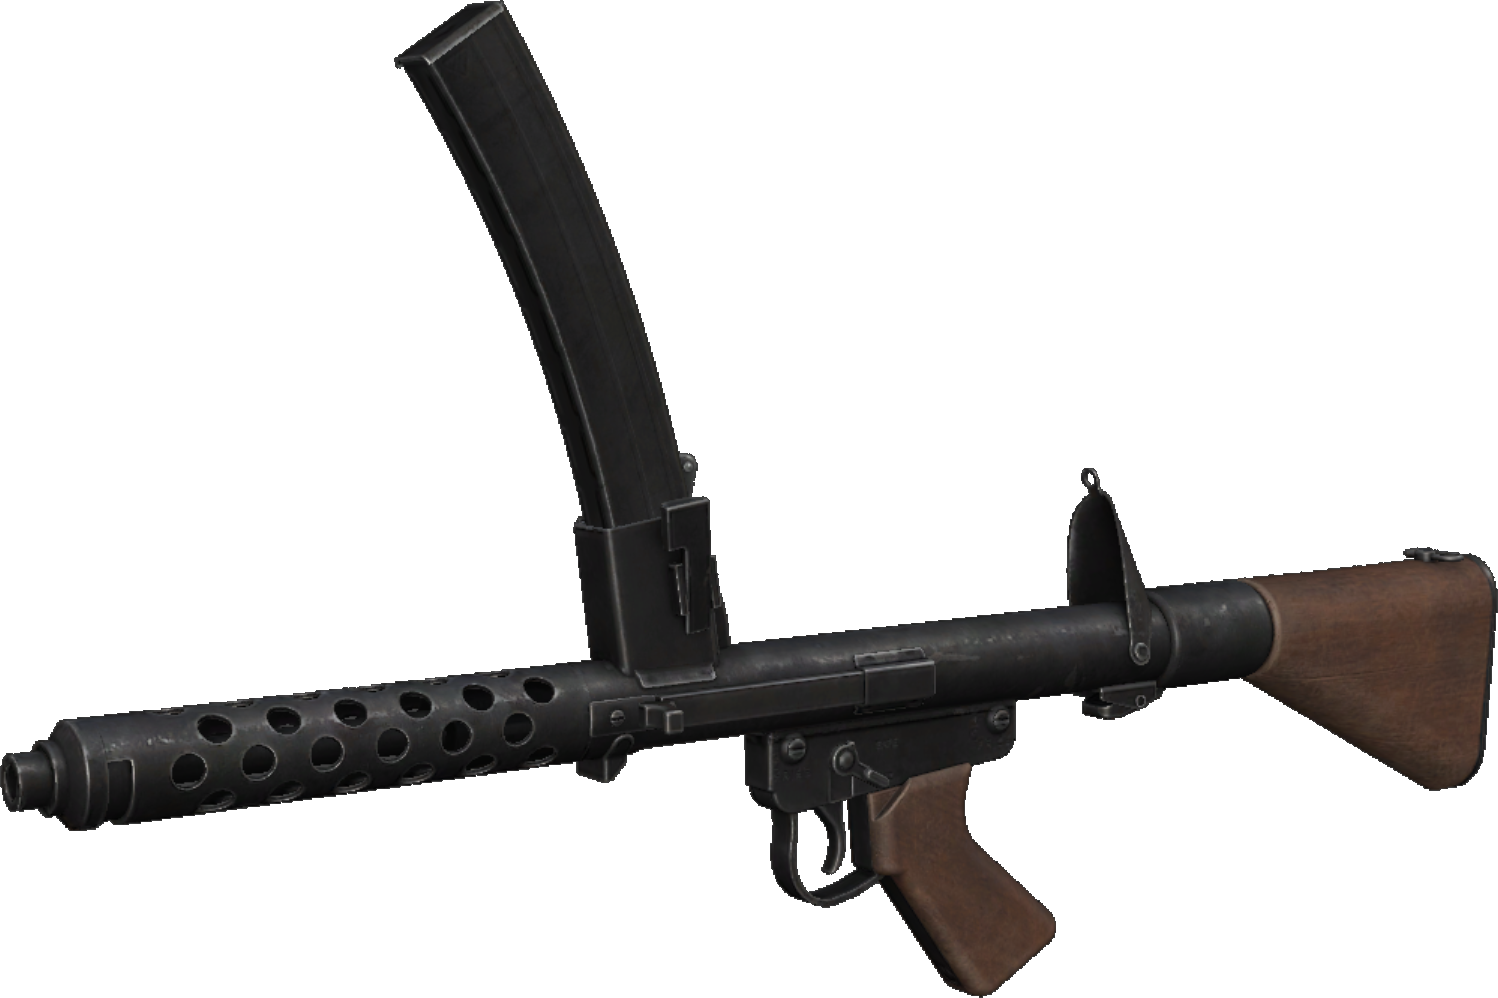 F1 |
 |
 Medic Medic Engineer Engineer Radioman Radioman |
34 / 102 | 35 | 84 |
 ANZAC |
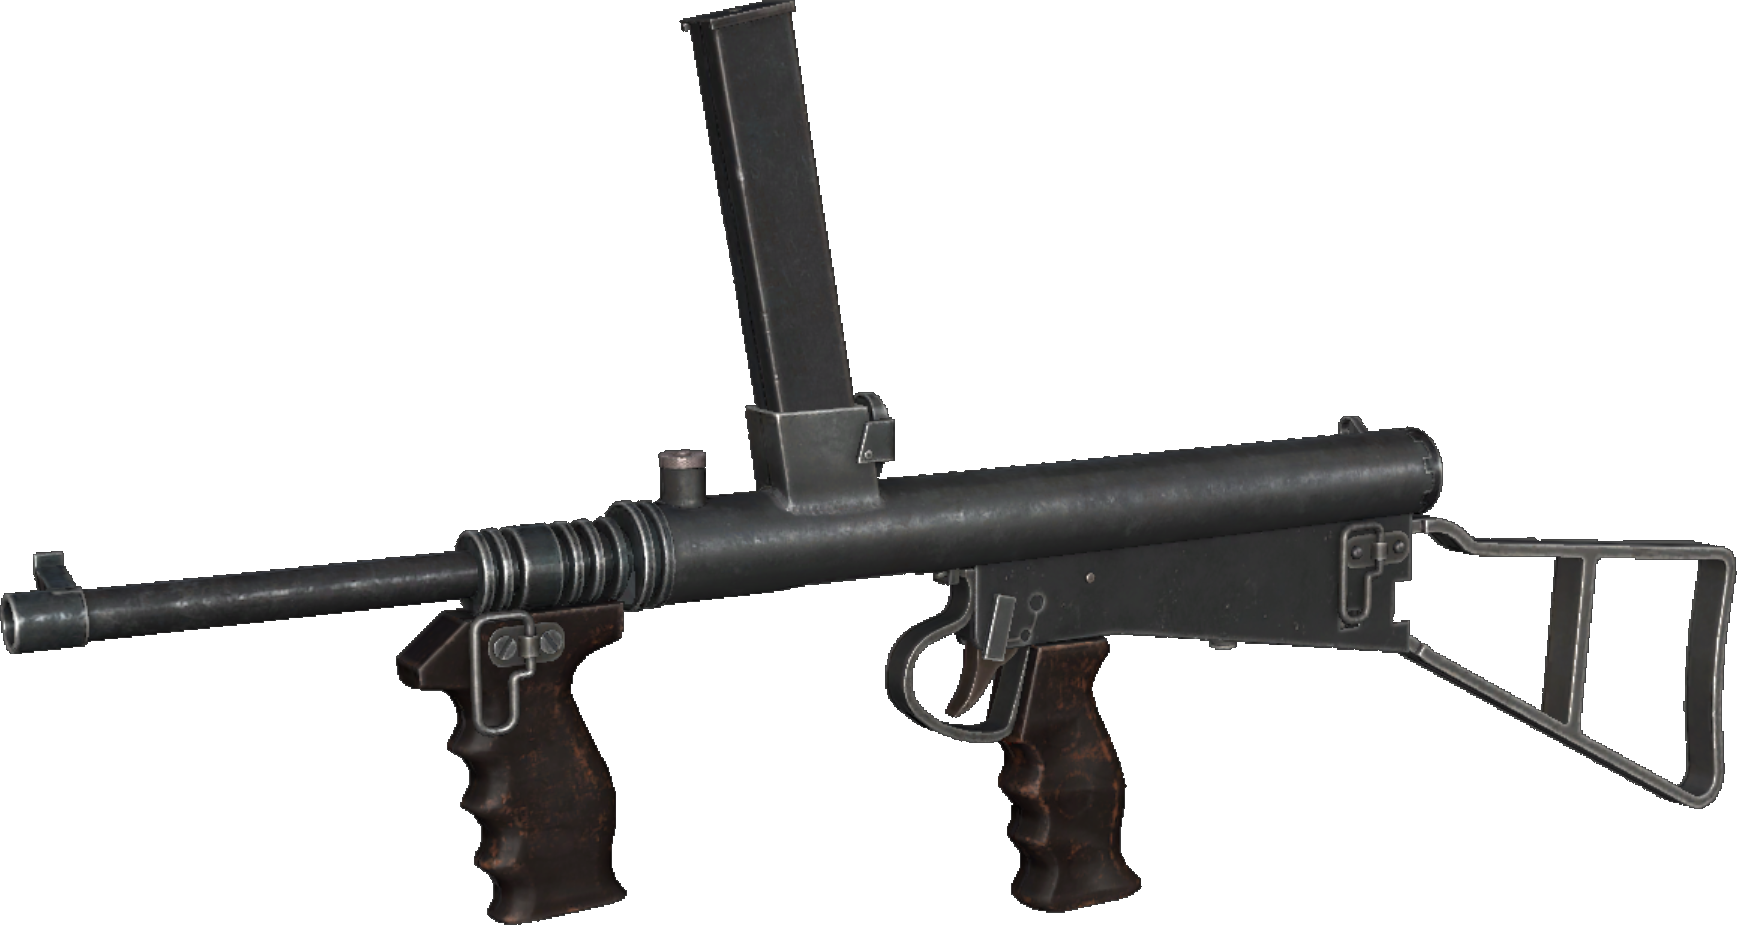 Owen Gun |
 |
 Medic Medic Engineer Engineer Radioman Radioman |
32 / 96 | 35 | 84 |
 ANZAC |
 Sterling L2A3 |
 |
 Medic Medic Engineer Engineer Radioman Radioman |
34 / 102 | 36 | 86 |
 ANZAC |
 L34A1 SASR |
 |
 Medic Medic Engineer Engineer Radioman Radioman |
34 / 102 | 34 | 81 |
 ANZAC |
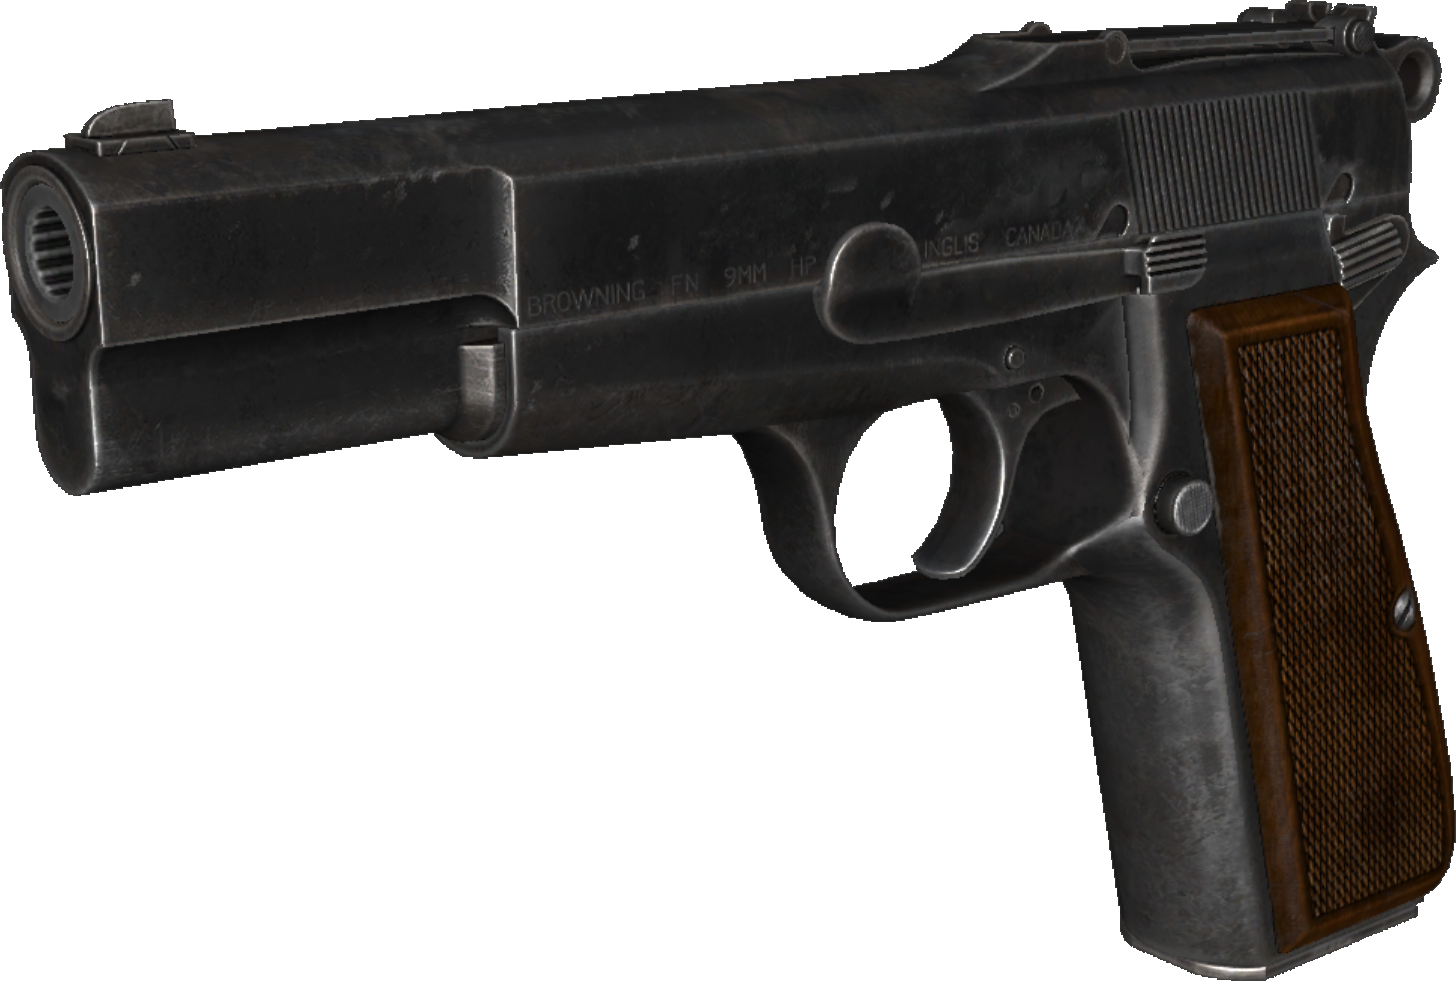 Browning Hi-Power |
 |
Everyone Except Sniper |
13+1 / 13 | 28 | 72 |
 ANZAC |
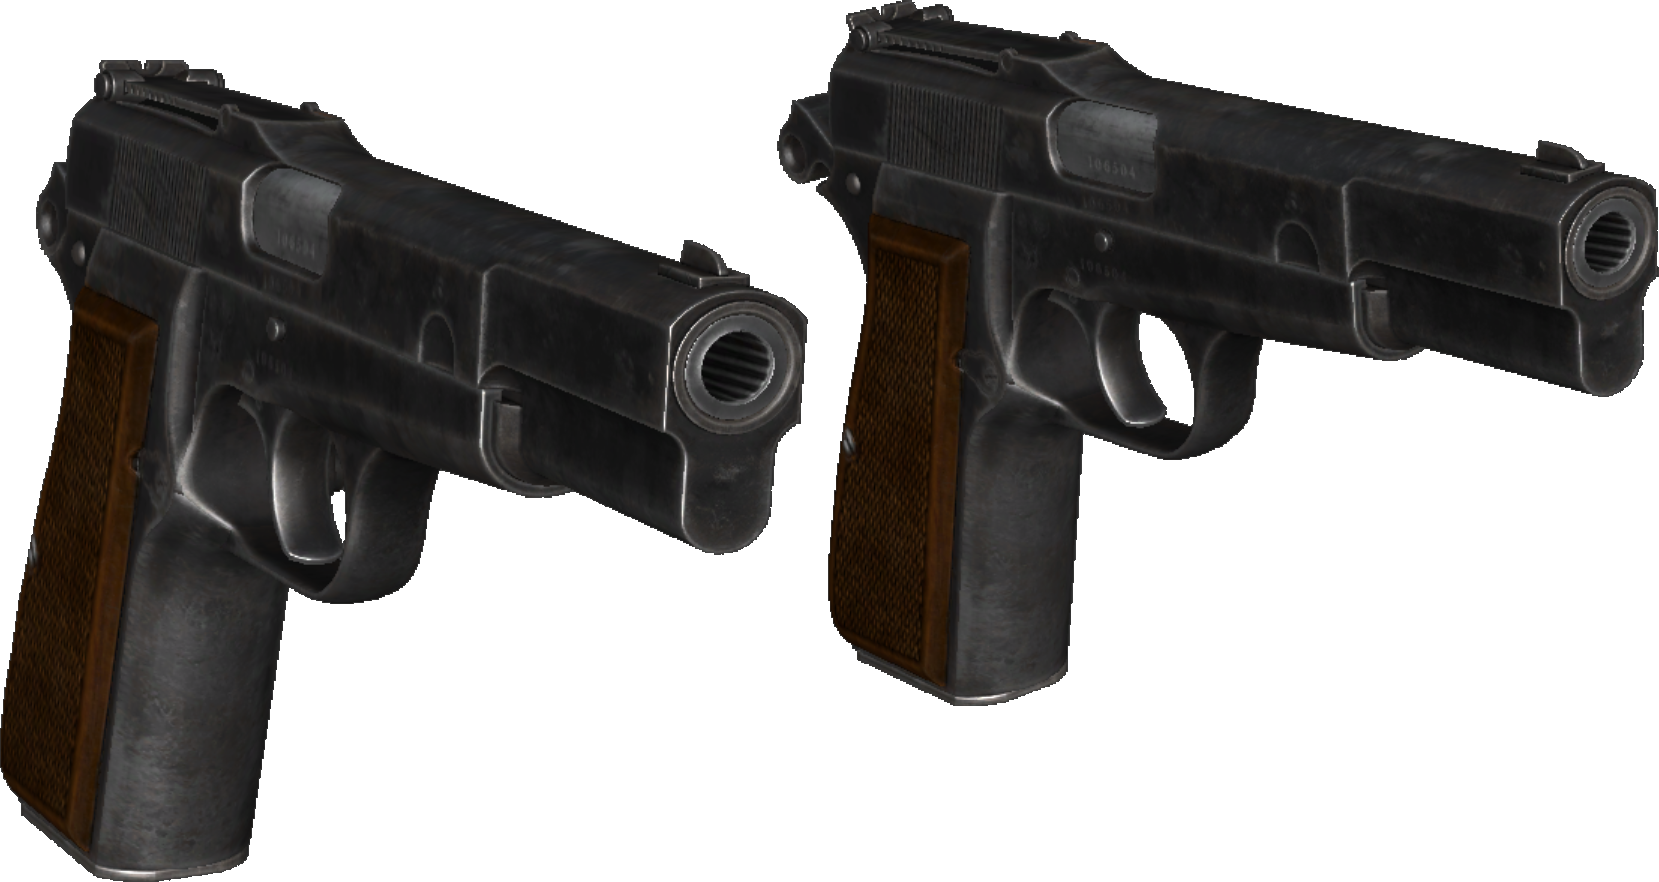 Dual Browning Hi-Power |
  |
Gun Game |
26 / 52 | 28 | 72 |
HISTORY
TEXT GOES HERE
[ SOURCE]
EmbedVideo is missing a required parameter.